Lock Button Replacement Failure for iPhone 4 - Sadface
/-- Update: I finally fixed this thing and wrote a guide. --
Mysteriously, a few weeks ago the lock button on my iPhone 4 decided not to move any more. It's not really stuck, it just lost it's "popping" ability. This is a tremendous annoyance. Fortunately, given enough force in the right direction it will still lock the screen and I can still power down as necessary. I went off and scoured the intartubes looking for quick fixes and came up with nothing other than an iFixit step-by-step guide to replacing the button. The replacement parts from Direct Fix, along with a bag of spare screws and a few extra prying tools, arrived this week.


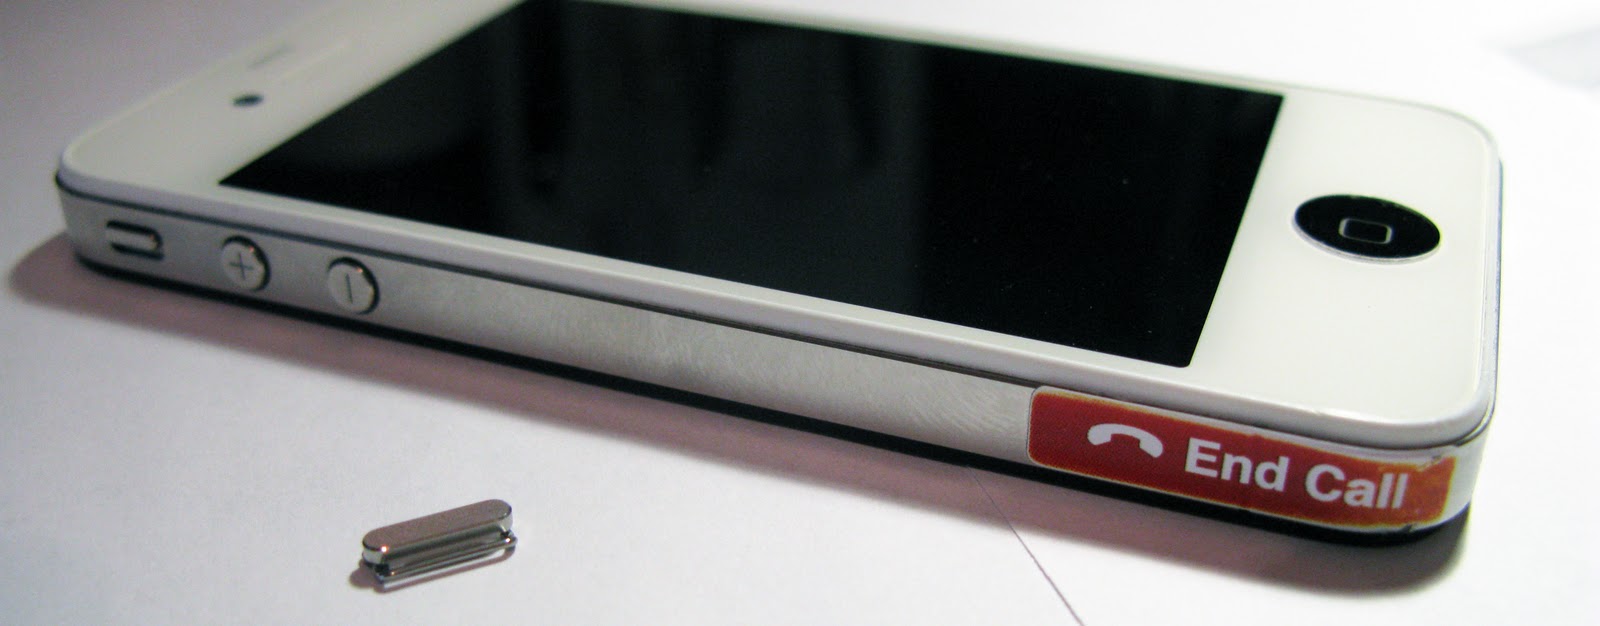
It's difficult to tell that there's something wrong with the button by looking at it, but it appears to be more recessed than usual.
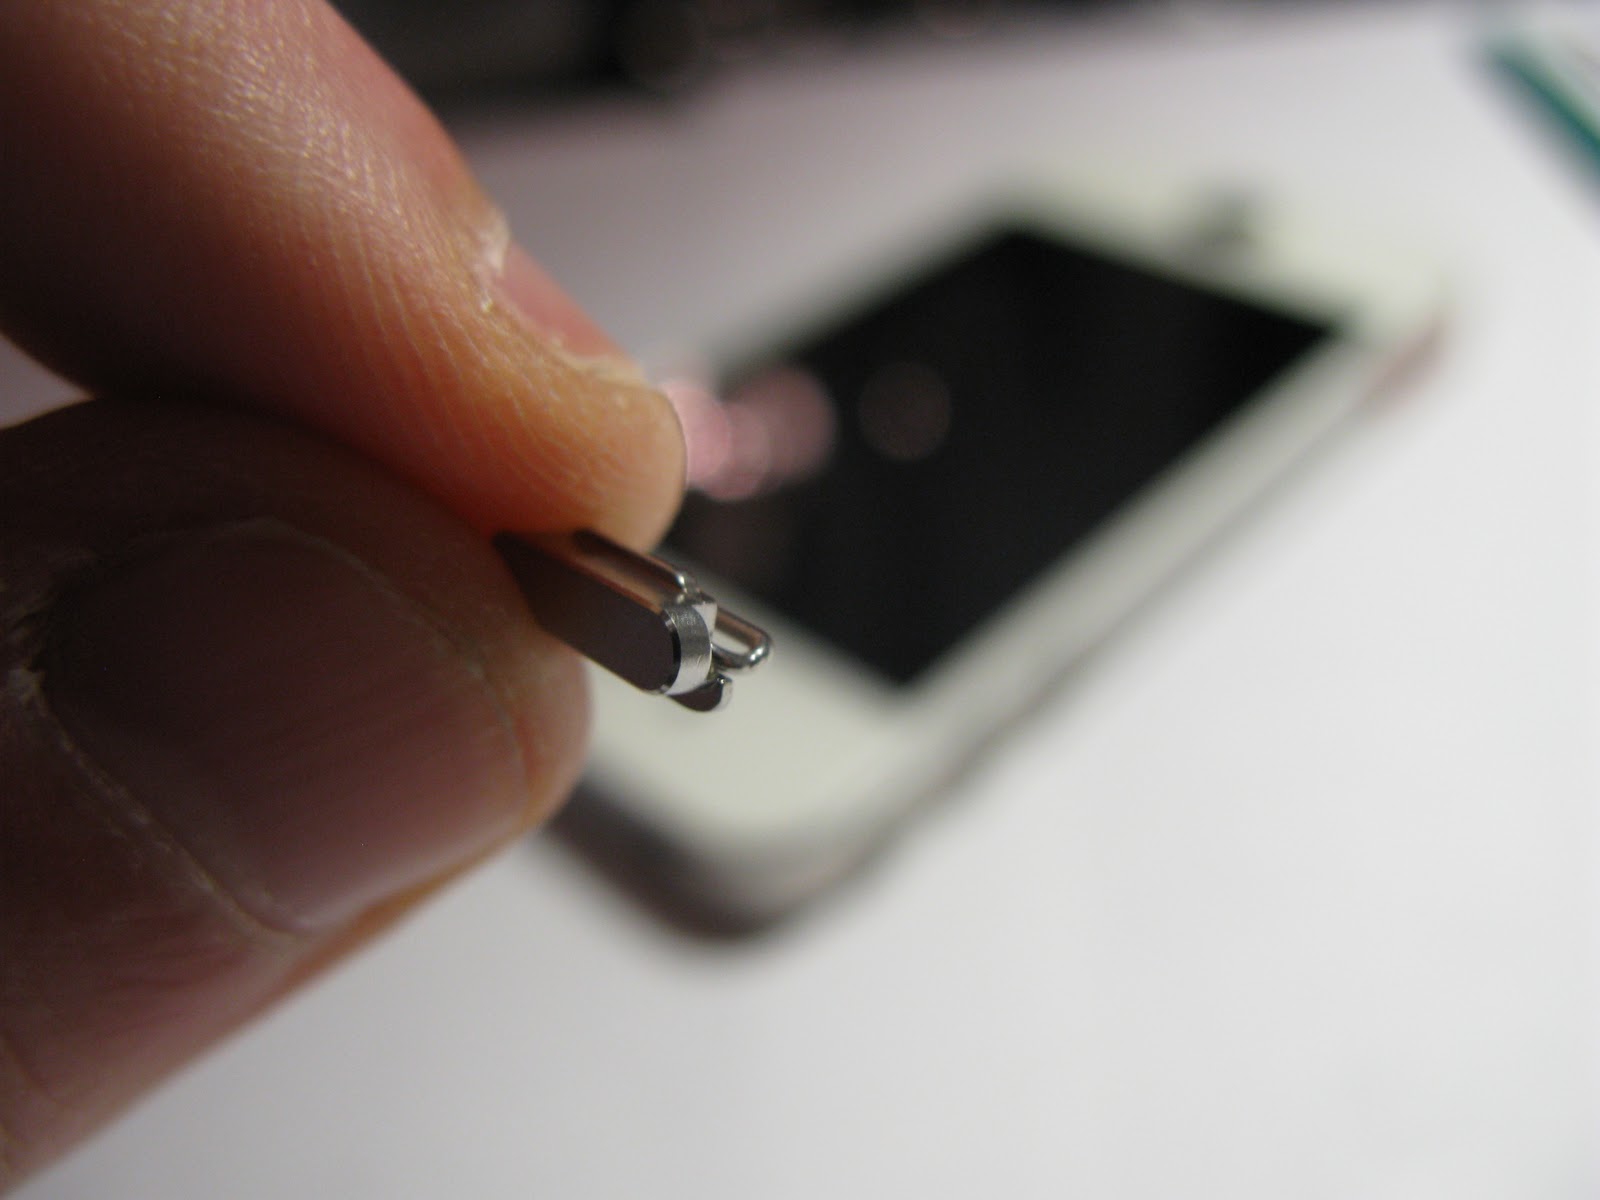
There's not much to the replacement 'button'. In fact, it's just the part you touch; the actual electrical contact is not included. It has this little hinged bar attached to it that moves freely 90 degrees.

Should you want to operate on your phone as well, note that iFixit left out a critical set of tools that you need for any iPhone 4 disassembly: A bunch of shot glasses. These serve two purposes.
- As you take the phone apart you can separate each set of screws and chunk of electronics in an orderly row of shot glasses. When you finish and begin reassembling the phone, work your way backwards through them. The screws are super small and easy to lose, plus they're all different sizes. If you don't stay organized you'll mix the screws up, lose them, or both.
- If you end up ruining your phone and realize that a new one will set you back about $700 off contract, you can use these same shot glasses to get blackout drunk very quickly.
Here's the setup:
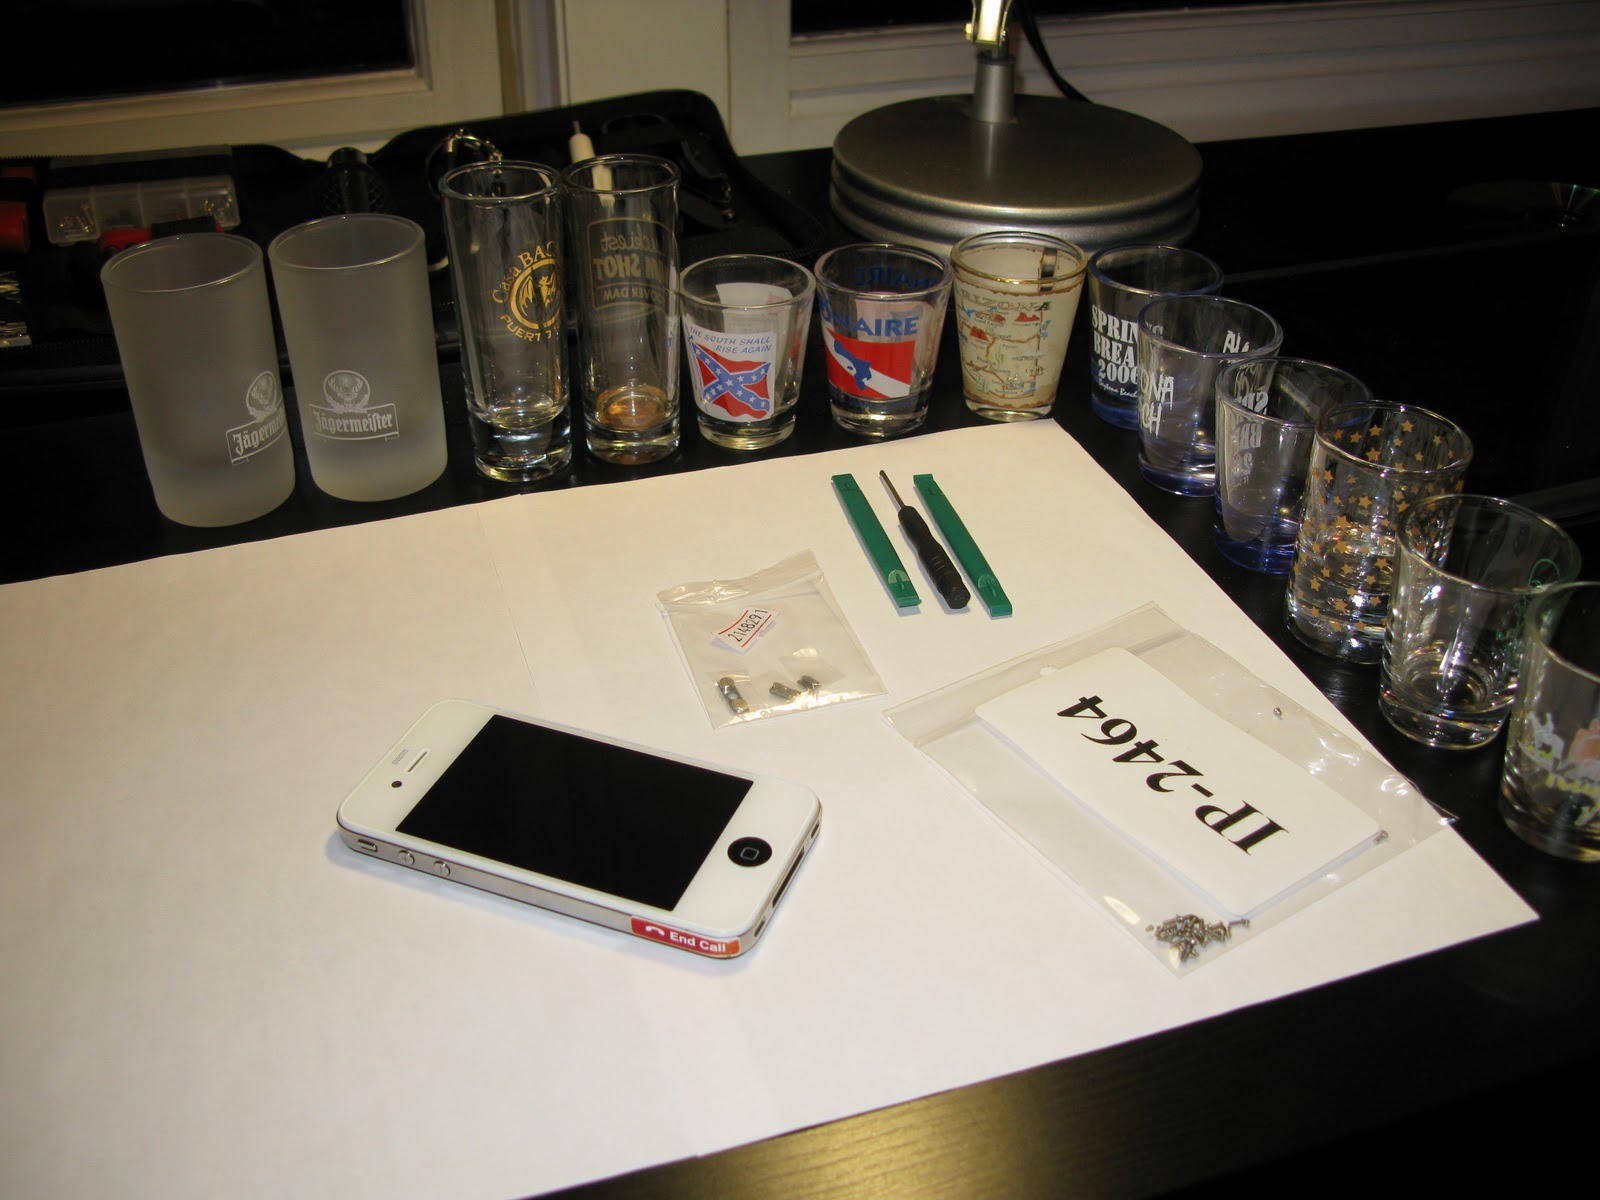
I ended up using 9 or so shot glasses in this process (a screen replacement will require several more), so I had a few extra. When replacing my screen a while ago, I found doing the work on a white work surface helped with keeping track of the tiny screws that you sometimes have to shake out of the phone.
I'll spare you the details of tearing this thing apart because the steps are meticulously detailed here, but it wasn't hard to extract the 'broken' button. I was expecting to see something wrong with the button when I removed it, but it was identical to the replacement part I purchased. Upon closer inspection, I found that the replacement part was missing a circular metal shim that looks necessary to touch the electrical contact inside the phone. In the pictures below, the left button is the replacement part and the right one is what was removed from the phone.
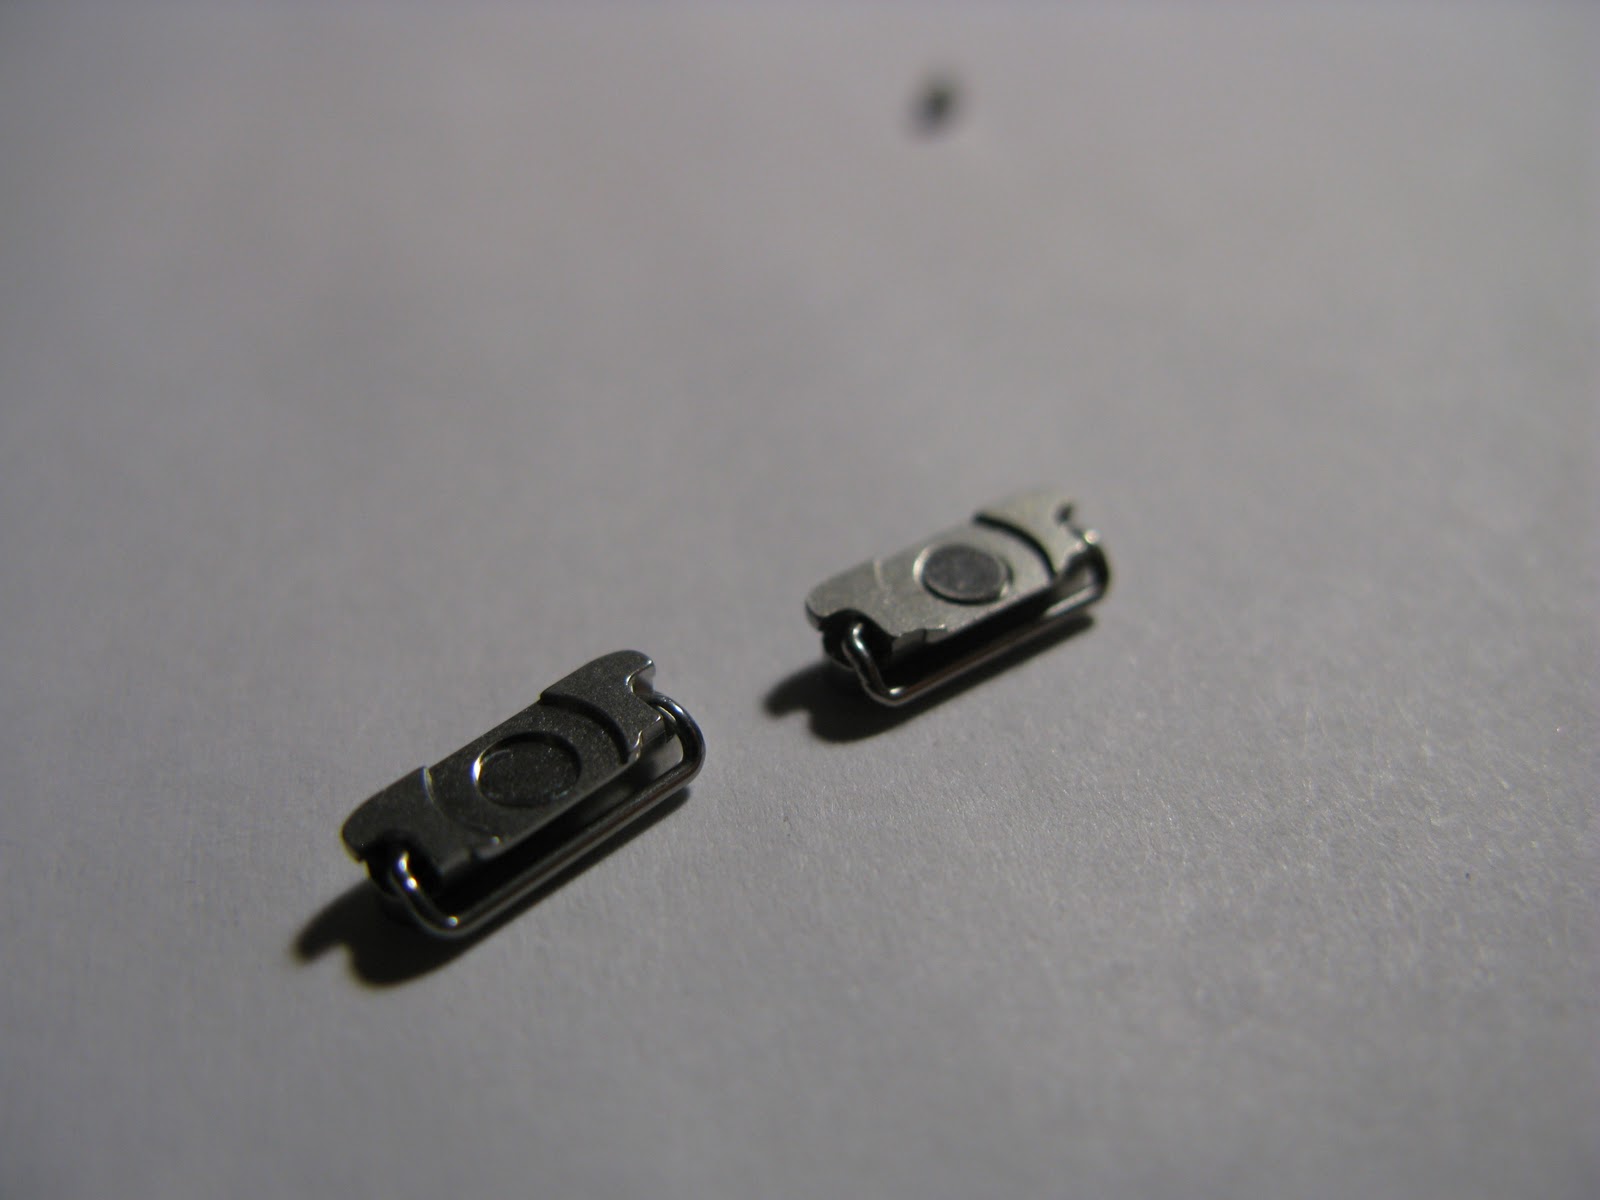
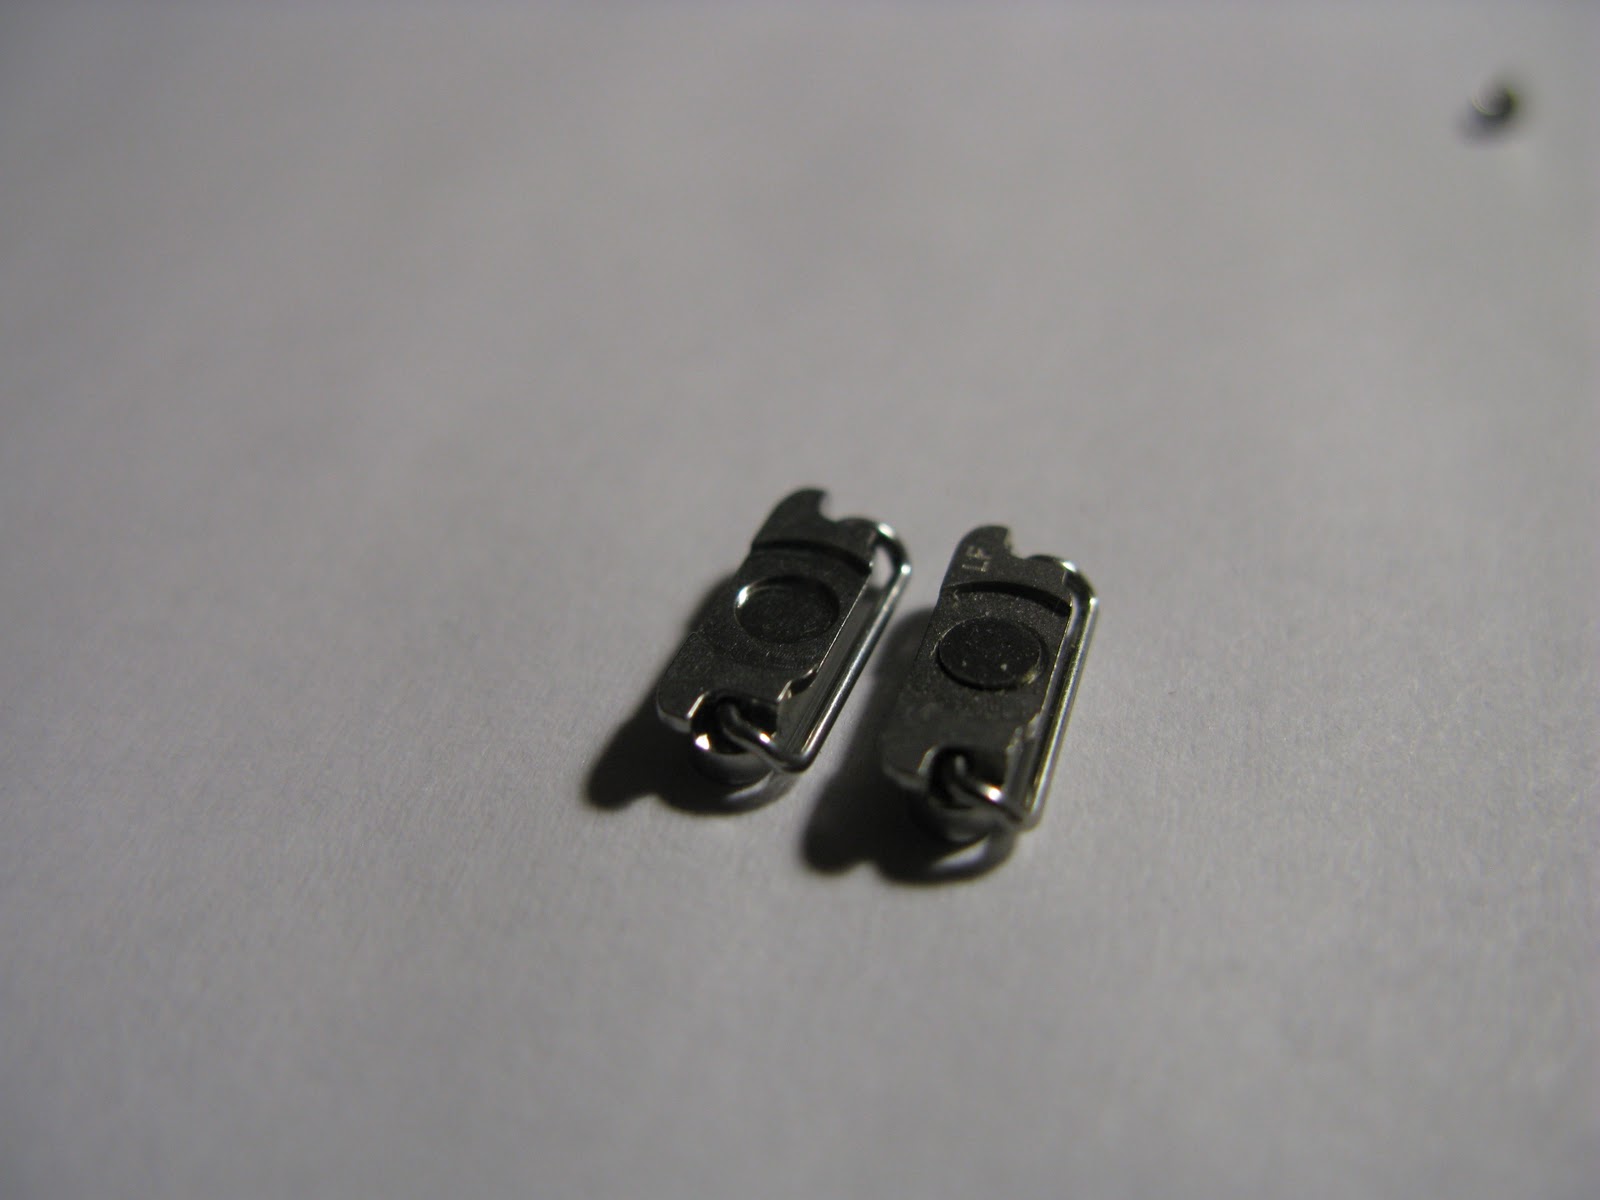
So that's no good. Digging around the intartubes was no further help, until in an act of sheer desperation I "Binged" my question and got some new results that the Google machine hadn't found for me. Bravo Microsoft, bravo. Turns out that SW-Box sells a replacement button that comes with a "Power Switch Button Sticker", which could very well be the piece of metal that goes in that depression. Without this shim, it looks unlikely that this button will be able to touch the contact that sits below it. I tried removing it, in case it was a piece that broke off of the contact, but it appears to be glued in there.
In the interest of due diligence, I inspected all the involved parts of the phone, tried out the new button, tried out the old one, and got nowhere. Everything looks fine inside. The button contact assembly mounts flush up against screw posts and nothing is lose. It is possible that the aluminum bracket the contact is mounted on is slightly bent, but it appears unlikely. What really drives me nuts is that I have no idea where the clicking action should happen! The mechanism that does this is the part that is broken and needs to be replaced. After a quick search I didn't find a replacement button contact assembly, which is likely where the clicking mechanism lives, but I'm sure they're available. Once I get that, I'll pull the thing apart and try again. If you have any suggestions or ideas, hit up the comments below this post.
This is the second time I've disassembled this entire device, and I'm getting nervous to continue doing it. I don't imagine that the various connectors in there are designed for more than a handful of make/breaks...
Update: I finally fixed this thing and wrote a guide.