Guide: Replacing the iPhone 4 Lock & Power Button

Although I've captured the replacement of the power/lock button on my iPhone 4 across a number of posts, I want to condense it all here. It's not a terribly difficult repair, just a bit of a pain. 

The Problem

The power & lock button on the top of your iPhone 4 appears to be stuck or does not click. In some cases, it may still register a button press if you push on it hard enough, as was the case with mine, but there is no more clicking action. Most of the threads I've found on the 'tubes regarding this issue diagnose it as being 'stuck'. It's not stuck, in fact there really isn't a way to get it stuck. The mechanical button that lives under the metal button cap is broken, and no longer provides any clicking action.

If you have this issue, the first thing to do is march into the nearest Apple store with big, glistening puppy-dog eyes and ask them to swap the phone out for you. If you've already done repairs on this phone, or otherwise voided your warranty, you'll be out of luck. It never hurts to ask though.

What You Need

The button lives on a flex cable assembly that must be completely replaced. The part is cheap, about $20, and can be purchased from iFixit for the AT&T device here and the Verizon device here. The repair I did was on a GSM (AT&T) iPhone 4 so I can't say how the process varies for the CDMA (Verizon) device.

What you most likely don't need (something I figured out when I first tried to fix this problem) is the button cover. The description just says 'button', and although it's true that this is the thing you push, it doesn't actually have the electrical contact inside. It's just a metal cover, doesn't really break, and is really just in the way of your finger and the actual button underneath.

      
This thing on the left, you don't need it. This thing on the right, buy it here. Photo credits: iFixit

The actual button lives on the top right part of the flex assembly (it's on the underside in the photo, since it has to fold up to mount to the top of the phone). This piece also contains the proximity sensor, ambient light sensor, and a secondary microphone (used for ambient noise canceling). I really don't see how the button cap could break, the thing is pretty sturdy. There is that little metal bar that you can see in the photograph, which swivels around, but you'd be hard pressed to break it. If you want to be safe, since it really is a huge pain in the ass to take the phone apart, pick up both pieces since the total cost is still only $25.

How to do it

Here are my detailed instructions: Go ask iFixit. They have excruciatingly detailed instructions and high res photos to guide you along. I've used their guides and parts exclusively with great success. Also, see my other posts on my shot glass strategy for organizing screws.

Related Posts


Disaster: Home button replacement results in tragedy.

[Click to enlarge]

See that little guy in the middle, all alone? The connector with a short piece of flex connecting to nowhere? That's what happens when you accidentally pinch an iPhone 4 screen's digitizer cable between the screen and phone body then try yanking on it. Without this little guy, the phone won't register touches on the screen. Sadly, this is non-reparable; the entire screen needs to be replaced... AGAIN! The upside to this is that non-defective screen assemblies with white bezels exist now, so at least I'll have a working proximity sensor while maintaining the sexy white & black iPhone look that makes the ladies go wild. The new screen should arrive later in this coming week.

In the mean time I'm slumming it with my old 3GS. I've only been using it for a half a day and I'm already disgusted with the quality of the display and the pixel density. I have a whole new appreciation for the 4's screen which is still, over 1 year later, the best display on the market.

I did manage to replace the home button, which was a breeze (provided we ignore the fact that I ruined the phone in the process). The disassembly process goes really quickly now, since this is the fourth time I've had to do it. Since I still haven't verified that the new button works (it clicks, that's a good sign), I can't tear apart the defective one to see what happened to it in case I need it. However, I do have the broken one that iFixit replaced for me, so I took it apart.

Home button upside-down and disassembled along with another one right side up.

It's a really simple thing. Two wires pass through a thin flex cable onto the back side of the button. One wire connects to a printed metal ring, the other passes underneath to a concentric, printed metal circle. The part that does the clicking is a dome shaped piece of metal glued to a flexible piece of clear plastic. The outer edge of this dome makes contact with the metal ring on the back of the button and the clear plastic holds it in place. When you push the button, the dome presses against the mounting surface behind it, warps inward (click!) to short the two printed metal circles together. 

Since the moisture sensor near the home button of my phone is lit up red, it's likely that some moisture got in between the button and the dome and corroded it, making it a crappy contact. That would explain the intermittent nature of the problem. If it's anything else, this replacement will have been useless. Womp.

Here's to iPhone 5 surviving a whole year without my intervention.

Fun with iPhone 4 Button Replacements

[Click to enlarge]

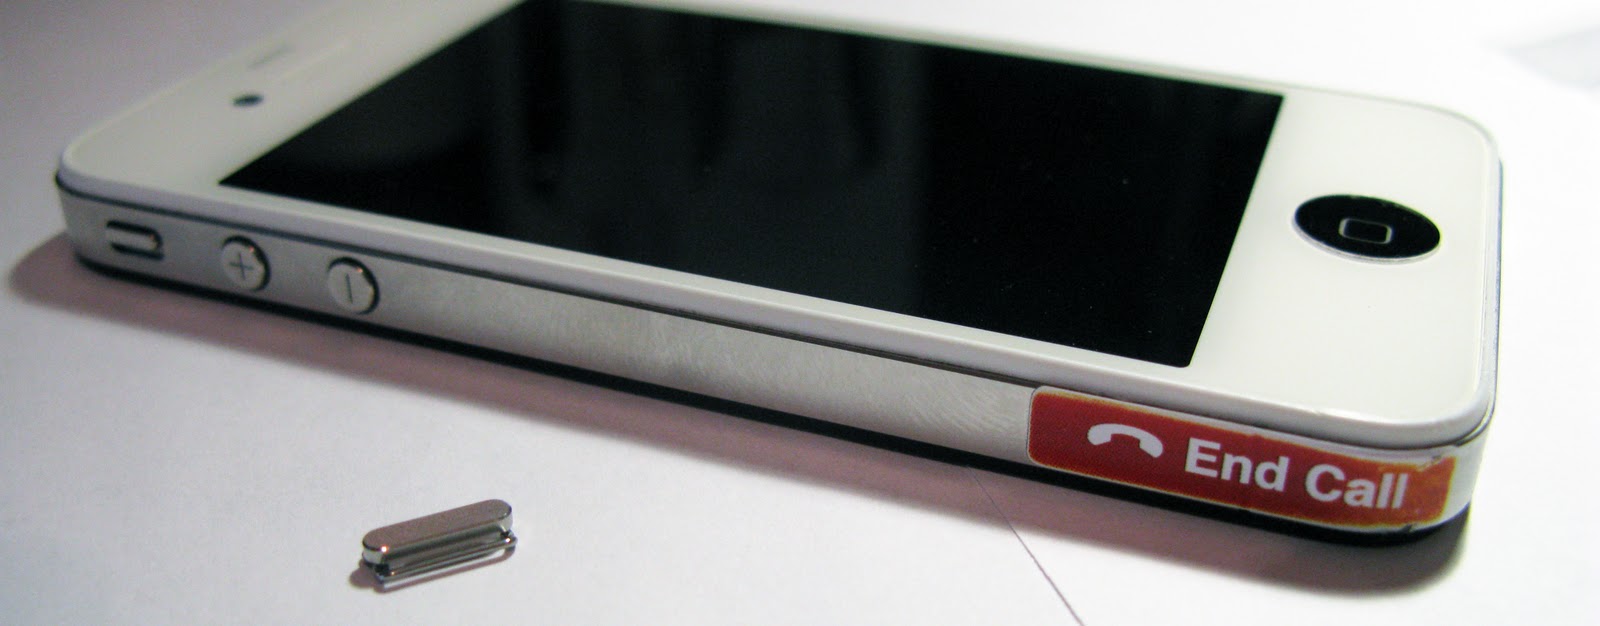
The third adventure into the bowels of this phone was for very good reason: Both the home and lock buttons were barely working. The first one that went was the lock button, and this happened months ago. One day it decided that it was no longer interested in clicking, barely moved, and was clearly sitting lower in its socket. Given enough force, it would do its duty, but I had to press extremely hard. Asking the Google machine what to do, I didn't find a single reasonable answer for a fix besides walking into an Apple store with puppy-dog eyes hoping for an exchange for a refurb. I rummaged around iFixit's teardowns and finally decided that I'd order a replacement button. That didn't go so well, as explained here in detail, since this part is actually just the cover of the actual button. The next logical part to replace was the cable assembly and contact that interface with this button cover, which I describe below. I also ordered a new home button assembly. When the parts arrived it was time to completely tear down the device, and according to the picture below, also do some heavy drinking?

[Click to enlarge]

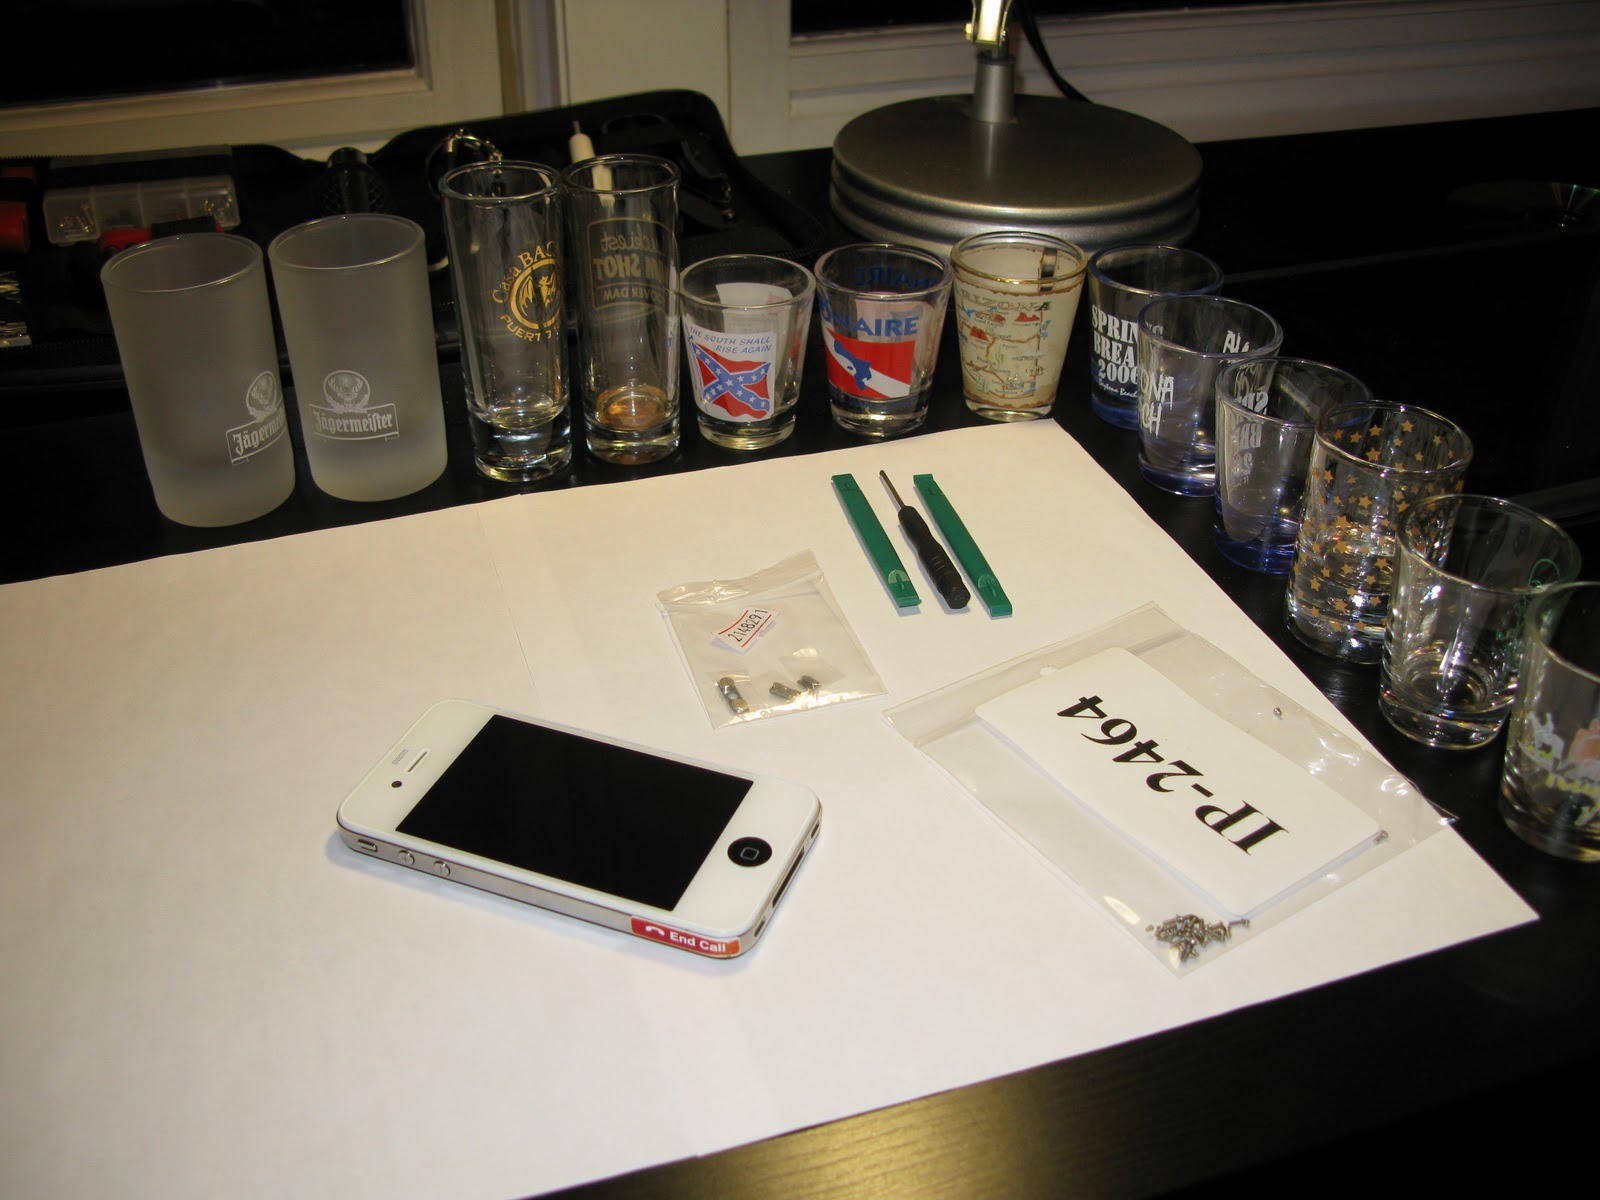
What they don't tell you in the how-to's and teardowns, is that you're going to lose these dozens of tiny screws that hold all these components together, get them all mixed up, accidentally inhale them, etc. Solution: Line up a bunch of shot glasses, as shown above. Each set of screws goes in a shot glass, and line them up in the order that they came out in. This makes putting the phone back together much easier and with much lower risk of losing something. And in the event things go terribly wrong, you can drown your sorrows in some top shelf booze; you're already set up for it.

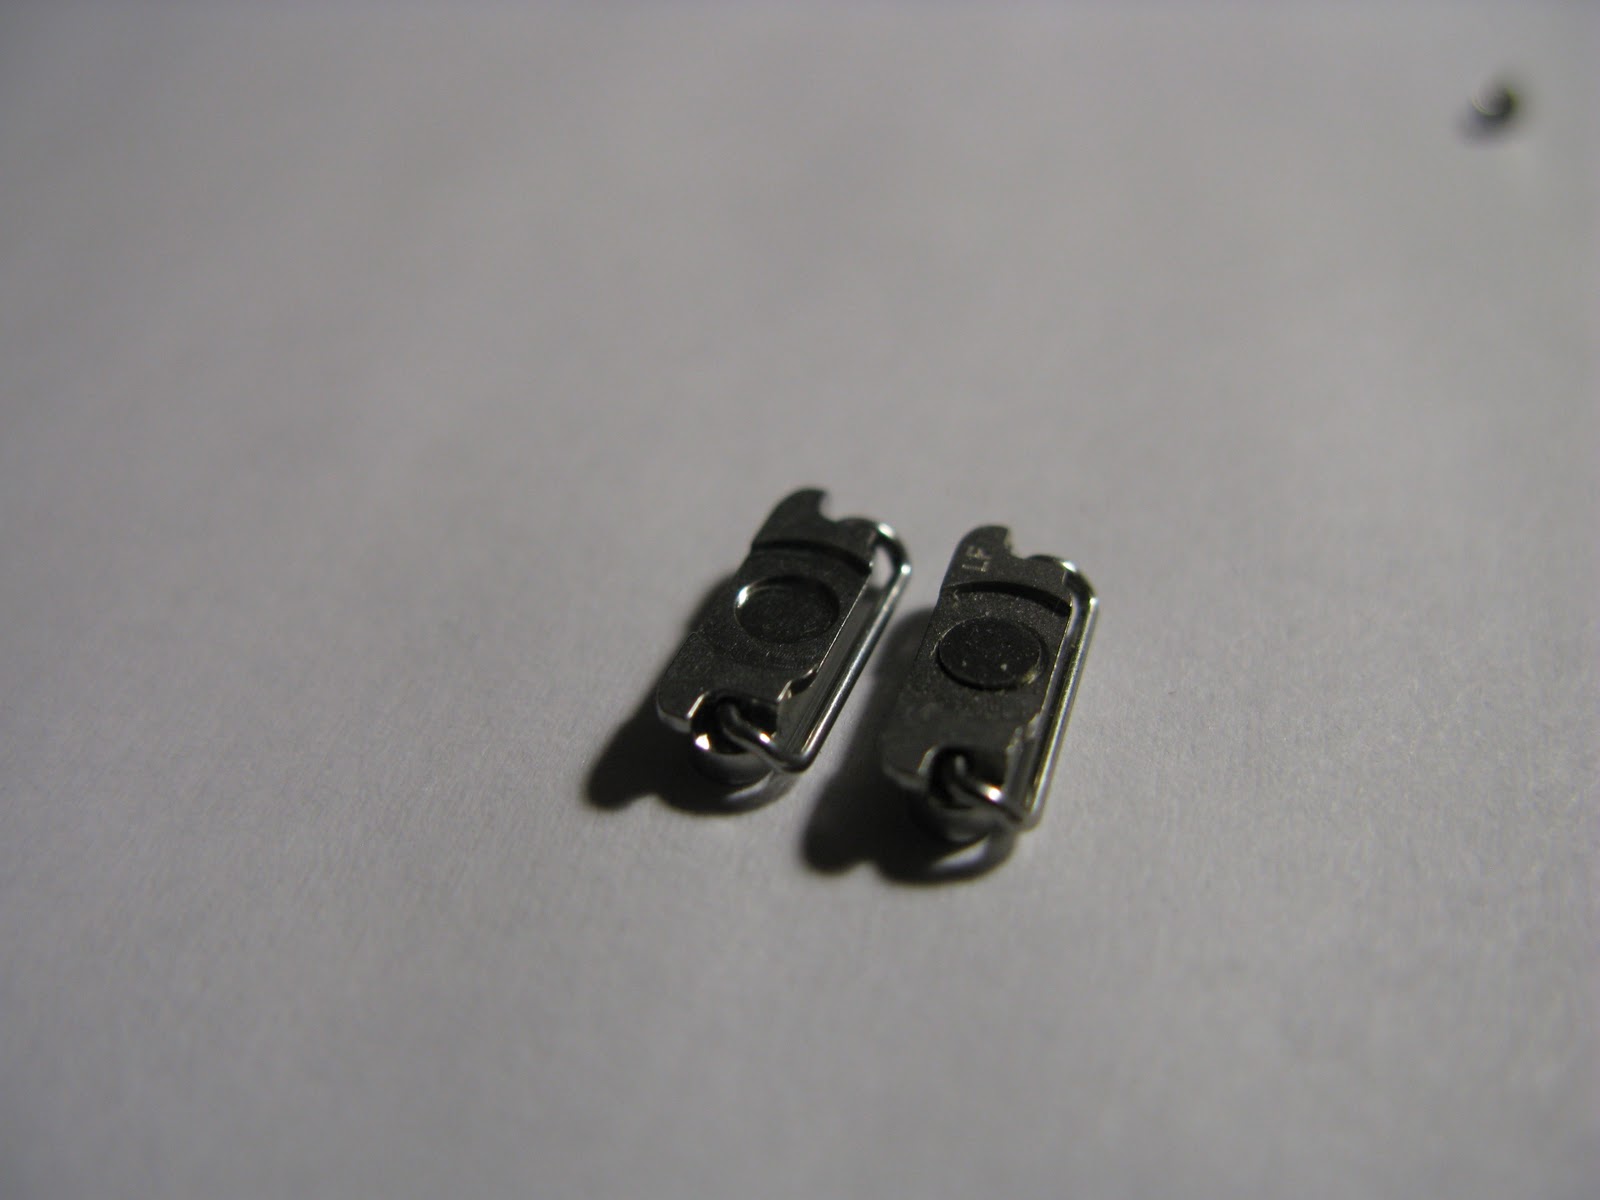
Once I had everything apart and reviewed the teardowns online again, it was very clear that the issue was the little button hidden underneath the metal button cover. It lives on a small, funny looking flex board along with the proximity sensor, ambient light sensor, and noise cancelling mic. The lock button section wraps around a metal bracket that screws to the top of the case, butting up against the metal button cover. The replacement part comes with a mild adhesive already applied and protected by peel-away pink plastic sheets. iFixit has fantastic step-by step tutorials on how to pull this thing apart; if it's your first time, definitely check this out.

[Click to enlarge]

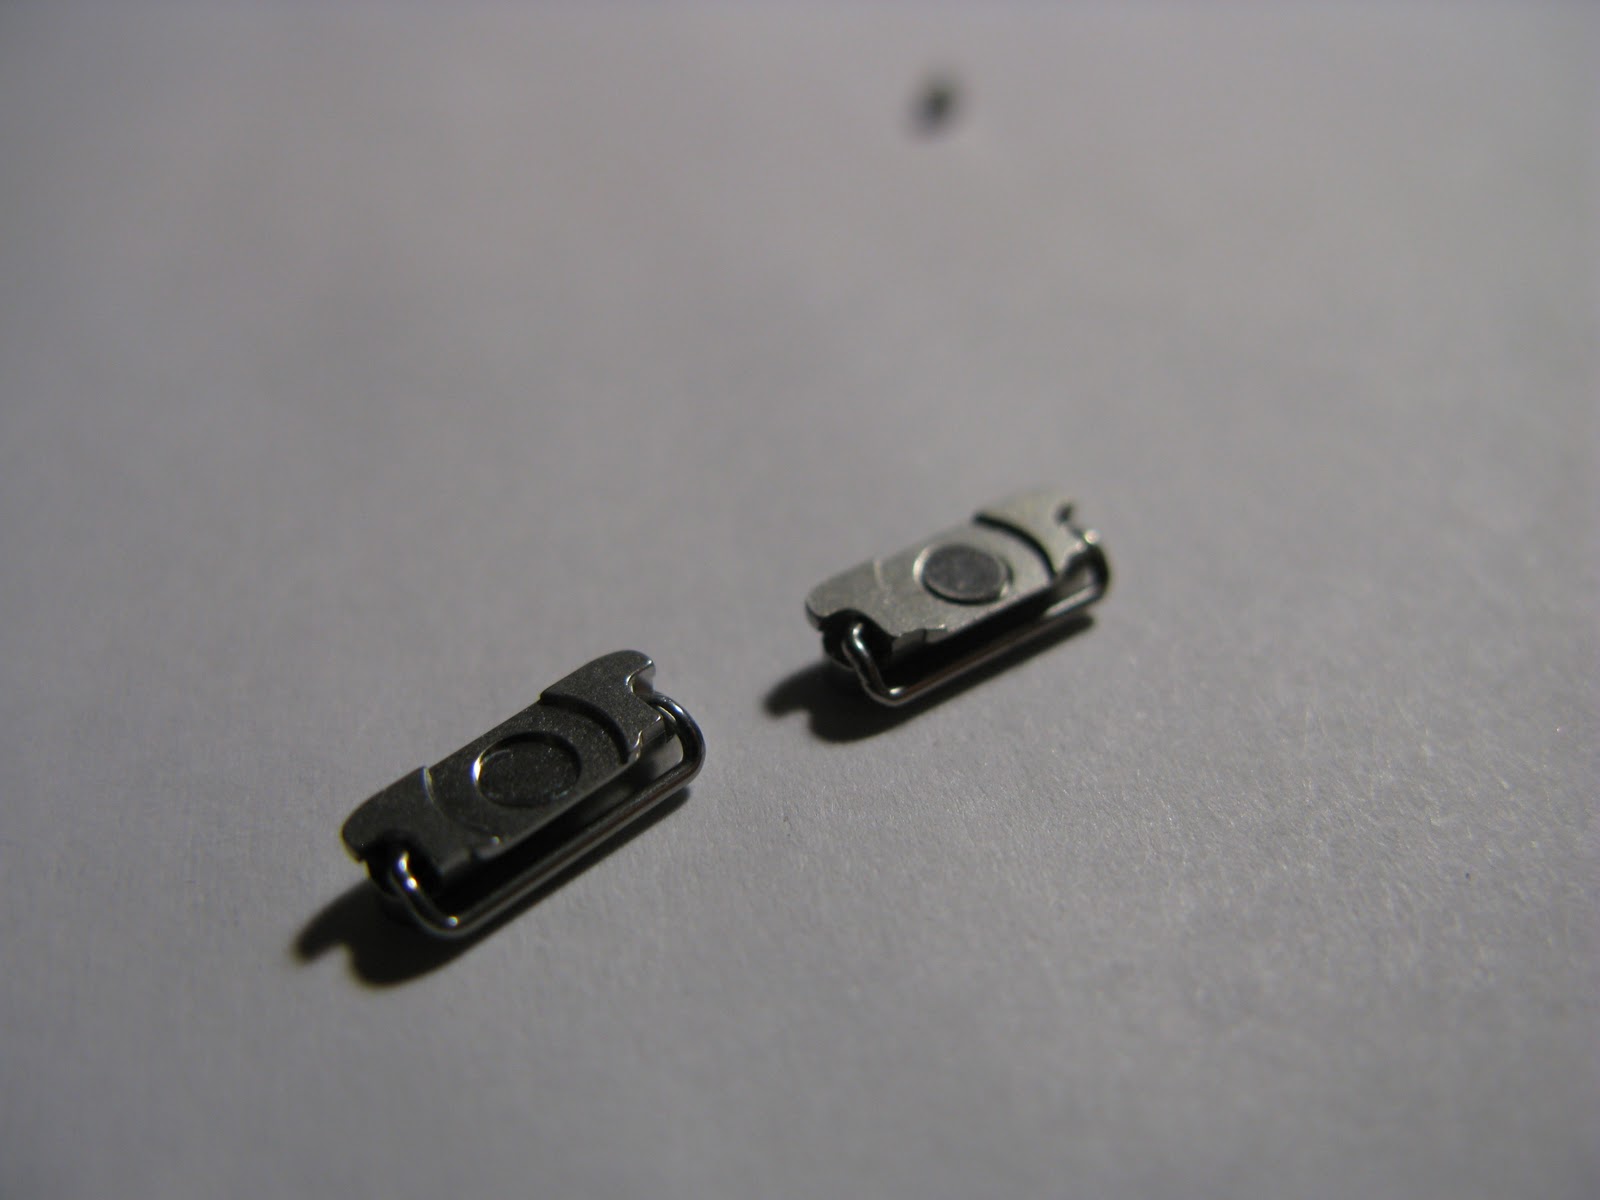
The image above shows the replacement flex assembly (right) next to the freshly removed faulty one (left). Unfortunately, the foam ring on the original flex is where the earpiece speaker sits and it gets completely destroyed when you remove the speaker. The remnants are also nearly impossible to peel off intact, so the earpiece speaker will no longer be sitting on anything unless you fashion a replacement out of some similar material. The same is true for the black plastic piece right above this foam ring in the photo, still stuck to the flex. It covers a few resistors and a cap behind the sensors, but I didn't have any adhesive on hand to attach it to the replacement. Had I done a thorough job instead of half-assing it, I would have transferred this piece over to the new part.

Moving on, the replacement of the flex assembly went quickly once the phone was disassembled. Everything tucked into its correct spot rather easily, and the adhesive that was already applied to it helped quite a bit with keeping it in its place. I've never been more excited to click a button. Once the bracket that holds it in place was fastened to the case, I pressed and released to the beautiful, almost sexy, tune of a button click. Works like a charm now - just like new. 

Now on to the home button...

[Click to enlarge]

There are two problems with my home button: It takes significant force to get it to register a click, and when it registers, sometimes it registers multiple clicks. This can get really irritating, and makes flipping between apps (a double click) difficult. Luckily, the entire button assembly is just one part. Unluckily, you need to take the display off of the phone, which requires the most extensive teardown. 

To replace the home button, you have to go a step further and pop the screen off (reference). The home button has a metal dome underneath it that does the clicking and the entire assembly sits on a circular metal disc. A little flex connector sneaks out from underneath, passes through a hole in the front of the phone, and locks into a very tiny connector on the back side. I tested the new button out a few times before putting it in, and it seemed to be clicking fine. However, when I was ready to put it in, it no longer clicked. Womp womp, must have been defective. The original button still had some clickeyness to it, so I put it back in after cleaning off the contacts with a little alcohol. After reassembling the phone, I found the issue to persist, so cleaning the contacts may not have helped. It's also possible that the metal disc under the home button isn't an electrical contact. This is likely since the metal disc clicks as part of the button appears to be covered with a thin layer of plastic. I should have checked if it was indeed exposed metal with a multimeter; this button could be completely self contained. I suppose I'll know once I have another go at replacing it with a new button.

The next day I got an email from iFixit checking to see if I was happy with my order. I explained what went down with the replacement home button and they immediately shipped me out a replacement at no charge. Fantastic service, I'm very impressed. I've yet to have another go at it, but will soon enough.

I also noticed this:

[Click to enlarge]

The moisture indicator right behind the docking connector, well, indicated moisture. At some point some liquid got in that connector, and that's never good. It very well could be why this button failed if it got all the way into the tiny home button connector nearby.

Even though I still have this issue with the home button, it's fantastic to have a working lock button again. It's taken a few days to get used to not smashing it down to get it to work, but I'm learning, slowly.  

Lock Button Replacement Failure for iPhone 4 - Sadface


-- Update: I finally fixed this thing and wrote a guide. --


Mysteriously, a few weeks ago the lock button on my iPhone 4 decided not to move any more. It's not really stuck, it just lost it's "popping" ability. This is a tremendous annoyance. Fortunately, given enough force in the right direction it will still lock the screen and I can still power down as necessary. I went off and scoured the intartubes looking for quick fixes and came up with nothing other than an iFixit step-by-step guide to replacing the button. The replacement parts from Direct Fix, along with a bag of spare screws and a few extra prying tools, arrived this week. 


It's difficult to tell that there's something wrong with the button by looking at it, but it appears to be more recessed than usual. 

There's not much to the replacement 'button'. In fact, it's just the part you touch; the actual electrical contact is not included. It has this little hinged bar attached to it that moves freely 90 degrees. 


Should you want to operate on your phone as well, note that iFixit left out a critical set of tools that you need for any iPhone 4 disassembly: A bunch of shot glasses. These serve two purposes. 
  1. As you take the phone apart you can separate each set of screws and chunk of electronics in an orderly row of shot glasses. When you finish and begin reassembling the phone, work your way backwards through them. The screws are super small and easy to lose, plus they're all different sizes. If you don't stay organized you'll mix the screws up, lose them, or both. 
  2. If you end up ruining your phone and realize that a new one will set you back about $700 off contract, you can use these same shot glasses to get blackout drunk very quickly. 
Here's the setup:


I ended up using 9 or so shot glasses in this process (a screen replacement will require several more), so I had a few extra. When replacing my screen a while ago, I found doing the work on a white work surface helped with keeping track of the tiny screws that you sometimes have to shake out of the phone. 

I'll spare you the details of tearing this thing apart because the steps are meticulously detailed here, but it wasn't hard to extract the 'broken' button. I was expecting to see something wrong with the button when I removed it, but it was identical to the replacement part I purchased. Upon closer inspection, I found that the replacement part was missing a circular metal shim that looks necessary to touch the electrical contact inside the phone. In the pictures below, the left button is the replacement part and the right one is what was removed from the phone.


So that's no good. Digging around the intartubes was no further help, until in an act of sheer desperation I "Binged" my question and got some new results that the Google machine hadn't found for me. Bravo Microsoft, bravo. Turns out that SW-Box sells a replacement button that comes with a "Power Switch Button Sticker", which could very well be the piece of metal that goes in that depression. Without this shim, it looks unlikely that this button will be able to touch the contact that sits below it. I tried removing it, in case it was a piece that broke off of the contact, but it appears to be glued in there. 

In the interest of due diligence, I inspected all the involved parts of the phone, tried out the new button, tried out the old one, and got nowhere. Everything looks fine inside. The button contact assembly mounts flush up against screw posts and nothing is lose. It is possible that the aluminum bracket the contact is mounted on is slightly bent, but it appears unlikely. What really drives me nuts is that I have no idea where the clicking action should happen! The mechanism that does this is the part that is broken and needs to be replaced. After a quick search I didn't find a replacement button contact assembly, which is likely where the clicking mechanism lives, but I'm sure they're available. Once I get that, I'll pull the thing apart and try again. If you have any suggestions or ideas, hit up the comments below this post.

This is the second time I've disassembled this entire device, and I'm getting nervous to continue doing it. I don't imagine that the various connectors in there are designed for more than a handful of make/breaks...

Update: I finally fixed this thing and wrote a guide.

iPhone 4 Screen Replacement First Look

Two tiny screw drivers, one iPod prying tool, 8 shot glasses and two hours of manual labor was all it took to swap out the heartbreakingly shattered screen for this sexy new white one. 


Shattered screen on the right, freshly renovated internets phone on the left. That piece in the bottom left corner of the picture should not be sitting next to the phone. It should be inside of it. Whoops.


I kept the home button black for dramatic effect. Completely my own original idea.
Full writeup to come after the weekend, enjoy these glamour shots for now. Here's to not breaking another screen. Salut.